C#: new project, old discussion

Last week I started a new C# project with an existing team that was in charge of the maintenance of an existing application. One of the first things we did was defining the project structure in terms of development tools/frameworks. This is not a trivial discussion in C# because the are always 2 ways of doing things: the Microsoft way and the Community way.

Microsoft way is very straight forward for working with Visual Studio and writing quick (and usually dirty) code. But if you want to build testeable, robust and maintainable solutions, it could be better to stay with the community way.

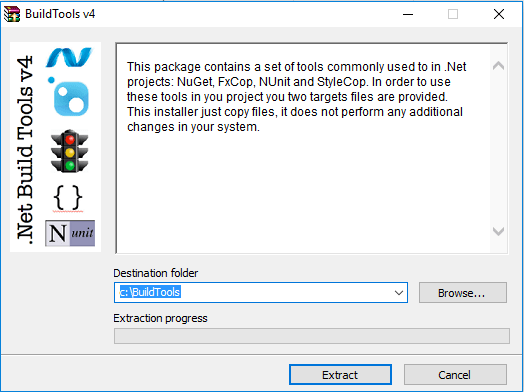
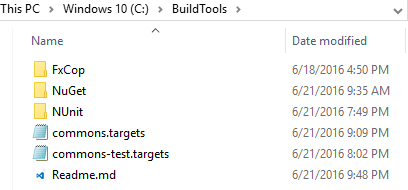
The community way usually includes open source and community supported tools/frameworks like NUnit and OpenCover. One drawback of the community way is that you have to take care of integration the different tools/frameworks, a concern that is usually already solve when you go with the Microsoft way. As a consequence of this situation I implemented some time ago my BuildTools package.

Last week, when we started the new project I was thinking to use that BuildTools package, but I realized that Visual Studio 2017 has been released recently, so I decided to re-think the strategy in case something has changed.

I after some research I was able to create a MsBuild script to run tests with NUNit and measure coverage with OpenCover. But I was not able to find a nice solution for NuGet, it seems NuGet is now firs-class citizen inside Visual Studio, but the nuget.exe is not part of the Visual Studio, so we still have to install on by hand.

Here is the sample project I am using to document my approach, any feedback is welcomed.

In future articles I will write about the strategy to integrate React and its build stack into the C# solution.

Setting up a .net build server without Visual Studio

Usually setting up a build server is a very straight forward task but not always. In case you want to build .Net applications it could be a non-trivial task because of the tight coupling of the different build tools with Visual Studio. A simplified way of dealing with this complexity is to install Visual Studio in the build server. I took that approach in the past and I didn’t want to go that way again. I don’t want Visual Studio in the build server.

In a previous post I described the approach I took to simplified the setup of the different build tools I want to integration in my build process. But that approach does not work if you don’t have Visual Studio, FxCop will not work and at the same time you will get lot of warning messages because of missing dependencies. So here is what I have to do:

  1. Get a machine with Windows Server 2012 R2
  2. Install .Net SDK 4.5.2
  3. Install Microsoft Build Tools 2015
  4. Install Windows 7 SDK and .Net 4 SDK (not the whole package but only Reference Assemblies)
  5. Install .Net 3 assemblies (it can be installed by using the Add feature option in windows, so you don’t need any additional download)

With all this stuff installed in your server, then you can use the approach I described previously and just use your build server to trigger MSBuild to take care of running all your build tasks.

Integrating .Net Build tools: MSBuild, NuGet, FxCop, StyleCop and NUnit

These days it is very common to have a continuous build process that includes: compilation, code analysis and automated tests. The way of implementing this kind of process varies depending on the technology of the project.

I have worked with Ruby, Python, Java, JavaScript, Smalltalk and some other languages and in all cases you just need to install 3 tools:

  • the runtime/sdk (like ruby, jdk, cog)
  • a package manager (like bundle, maven, pip, metacello)
  • a build tool (like rake, maven, fabric)

Any other thing you may need (linter, testing framework, etc), you can get it using the package manager and make it run as part of your build script.

But in .Net the situation is more complex. First of all everything seems to be very tight to Visual Studio (the IDE). Because of this, many people just install the Visual Studio in the build server.

Additionally to this the .Net SDK does not provide a test framework. You can use NUnit (which you will have to install manually) or you can use MSTest but to use it you need to install Visual Studio.

FxCop (the linter) comes with Visual Studio but if you don’t want Visual Studio, then you have to install it manually.

So, in order to avoid several manual tasks when setting up a new dev box and also to minimize any possible difference between dev boxes and the build server box I did the following:

  • I downloaded all the tools I wanted to use in my build process and placed them into the same directory (c:\BuildTools).
  • I wrote a build script (using MSBuild and defining my own targets). This script «glues» the invocation to all of these tools: NuGet, FxCop, StyleCop and NUnit.
  • Finally I package all these stuff in a self-extracting .zip file so all the team members can easily replicate my setup.

In order to have the build process to run continuously I also installed this package in the Jenkins build server.

buildtools-v4buildtools-layout

Javascript tests running on Jenkins

Nowadays, no matter what technology you use to build your web application, it is almost sure you will need to write some JavaScript code. At the same Javascript script code is not only used to animate the web pages, it is also used to handle validations and application flow. Because of this, everyday is more needed to write unit tests for the Javascript code.

There are several unit testing frameworks for Javascript. In my case I choose Qunit, that is testing framework developed by the jQuery guys.

Of course that in order to be able to write unit tests for your code, you will need to follow some design guidelines, but that is part of another post. Let’s suppose you followed that guidelines and now you want to write some test, these are the steps you should follow to run your tests:

  1. Download qunit.js
  2. Download qunit.css
  3. Write your tests in a javascript file
  4. Create a html page referencing the 3 previous files

With these 4 steps you are almost done, open the html file and you will have your tests executed.

What is missing, is how to run these tests in the build server. The interesting point here is that to run Javascript t tests we need a Javascript engine. In a develop machine, it is not a problem, you can use your browser, but in the build server is not so easy. The approach I took was to use PhantomJS, a tool that among other things, can run Javascript without needing a browser.

So using PhantomJS and MSbuild I was able to have my Jenkins running my Javascript tests.

Here you can download a running example.

Build Tools for .NET

Setting up a build server for .NET development is not so easy like in Java. We could find several explanations for this and one of them could be the huge dependency .net developers have with Visual Studio. I have met many developer that have no idea of how to generate a build of their application without using Visual Studio. Even more, it is very common to find people installing Visual Studio in their build servers 😦 (I did that several times!). Maybe because of this, command line tools never had much popularity among .NET developers. At the same time, Visual Studio along could be not enough to create a quality build (Visual Studio out of the box can not run NUnit tests and StyleCop analysis).

My approach to build my applications is to use a build tool. For the case of .NET there a couple of build tools out there. I think the most popular are:

  • NAnt: it is basically a port of Ant, the famous build tool for Java
  • MSBuild: the Microsoft proposal
  • PSake: is a relatively new tool based on Power Shell

In my case, I choose MSBuild, but it is not enough, because this tool does not have out of box support for integration with some other tools that I use like Nunit, StyleCop, JsLint.  So  in additional to MSBuild I use a set of community extensions called MSBuild Community Tasks.

But the story does not end here, when I want to setup a new build server (or when a new member joins my team) several stuff must be installed in a new box. To simplify this setup, I have created an installation package that contains all the tools I commonly use to build my applications. I have called this package BuildTools4Net. Its current version includes the following items:

  • MsBuildCommunity Taks
  • NUnit
  • SharptLinter
  • FluentMigrator
  • StyleCop

Because of licensing concerns I can not share the my BuildTools4Net installation package, but I am working on script some you can create your own installations package.

Despliegue automático con Jenkins, MSBuild y MSDeploy

El próximo jueves a partir de las 18.30 participaré de un Meetup organizado por Microsoft Argentina. Entre los oradores cuentan ArielS y quien escribe.

En mi sesión compartiré la estrategia de despliegue automatizado que estoy usando en uno de mis proyectos actuales. Se trata de sistema relativamente grande, con componentes en distintas tecnologías. Yo estoy trabajando particularmente con los componentes .net que son: dos aplicaciones web corriendo en una granja de 8 servidores, un par de bases de datos SqlServer corriendo en cluster y un conjunto de servicios windows corriendo en otras dos servides aparte. Todo el despliegue está automatizado con Jenkins, MSBuild y MSDeploy. Si la sesión se graba, luego compartiré el link, sino grabaré un video para explicarlo de forma resumida.

El Meetup es gratuito pero requiere registración. Pueden registrarse y ver más detalles aquí.