The procedure described here is based on Jenkins 2.7.4 but I think it should also work with other (not so distant) versions.
First of all, log into your Auth0 account.
Then create a new client application («Clients» item in left-hand menu).

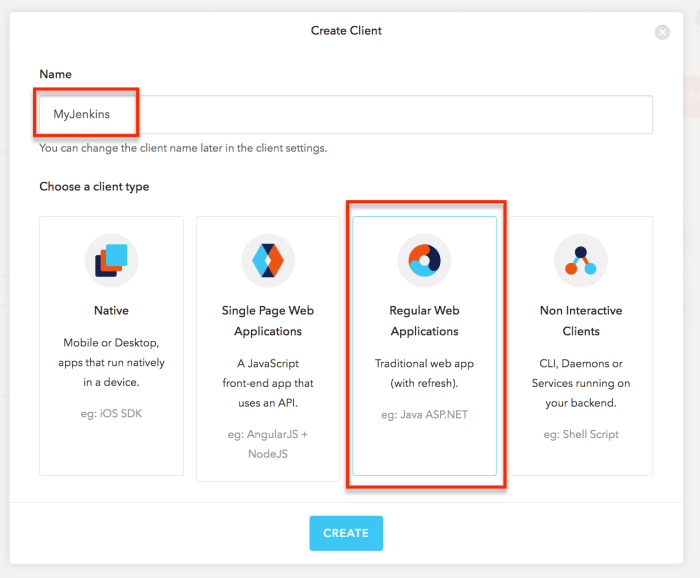
In the «Create Client» dialog set the name of your client application (for example «MyJenkins«) and choose the application type «Regular Web Applications«, finally click «Create«.
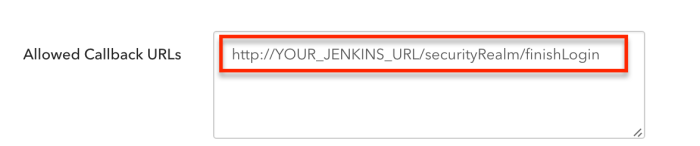
Once the application is created, go to «Settings» and set the value of the «Allowed Callback URLs» to «http://YOUR_JENKINS_URL/securityRealm/finishLogin«. Click «Save Changes«.
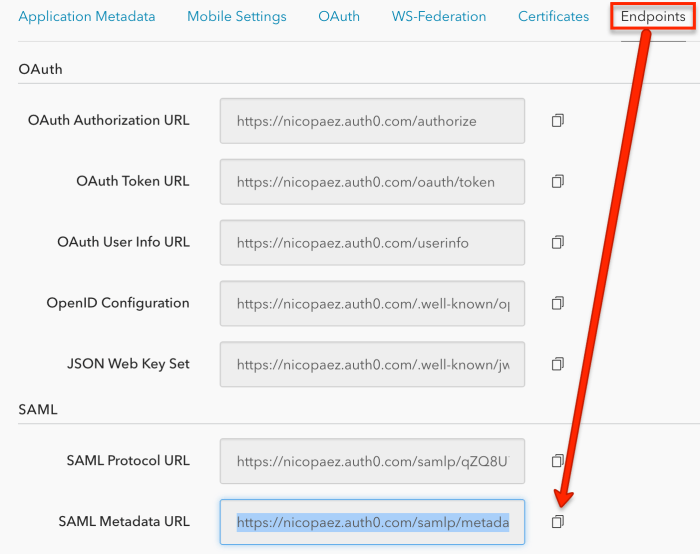
Scroll down to the «Advanced Settings» section, click on «Endpoints«. Take the SAML Metadata URL and save the content in that URL into a file (remember this file because we will use it later when configuring Jenkins).
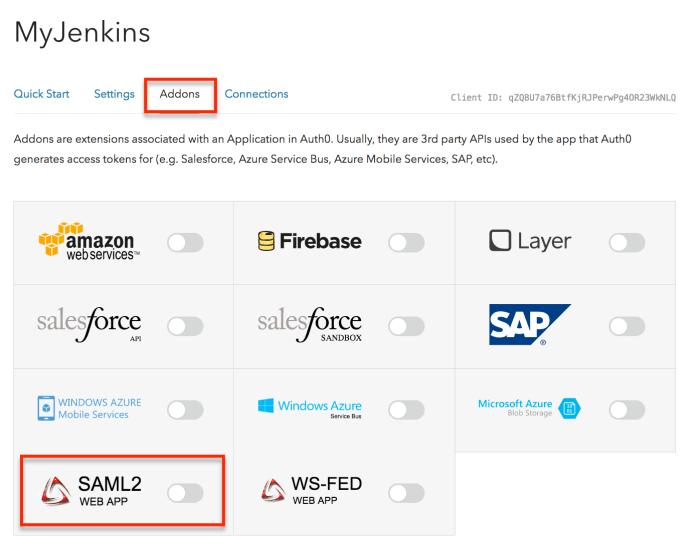
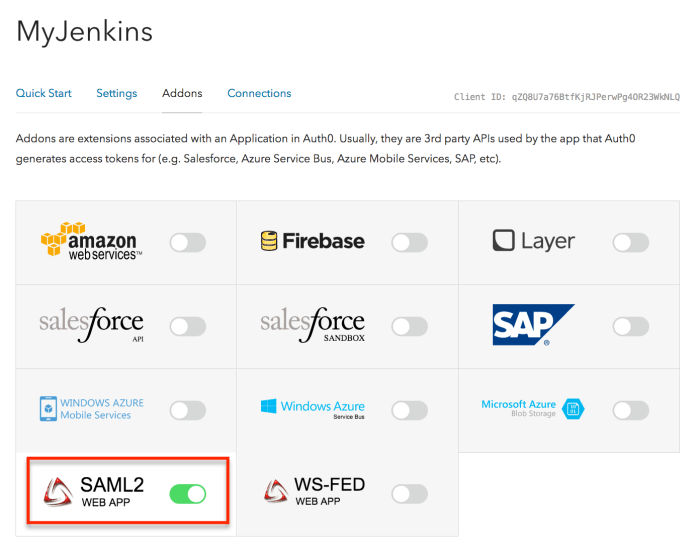
Go to the «Addons» tab and enable «SAML2» option.
In the Addon configuration dialog edit the settings to set the «audience» and «recipient» values to «http://%5BYOUR_JENKINS_URL%5D/securityRealm/finishLogin«.
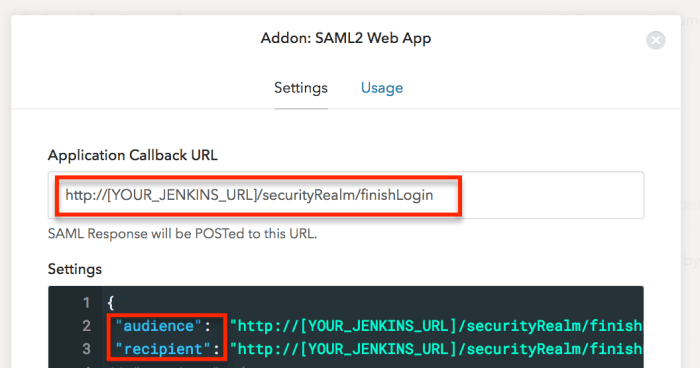
Click «Save» and close de dialog. Now you should see the SAML2 option is enabled.
That’s all on Auth0 size, now let’s work on Jenkins.
To perform the following steps, you need to be logged in with a user with administrator profile. I assume the reader is already familiar with Jenkins so the instructions won’t be so detailed.
First of all we need to install the «SAML Plugin«.

Once the installation is ready go to «Manage Jenkins > Configure Global Security«. In the «Security Realm» pick «SAML 2.0» and in the «IdP Metadata» box paste the content of metadata file you saved on before.
Scroll down to the «Authorization» section and ensure the option «Logged-in users can do anything» is selected (authorization is something we will work on later). Scroll down to the bottom of the page and click «Save«.
That’s all. Close the browser [*] and the next time you try to log in you will be redirected to Auth0. Now every user enabled in your Auth0 account will be able to log into Jenkins.
In the next article I will explain how to configure authorization.
[*] at the moment of this writing there is bug in the SAML plugin that affect a logout feature https://issues.jenkins-ci.org/browse/JENKINS-37311.


